Introduction to Parameters in the AIV application
Parameters allows the user to input the value based on which the data/information will be displayed (Parameters are specific values entered by the user to determine what data to display), when you create a dataset and want to specify certain criteria to display a certain set of data from the dataset, Parameters are used.
For example: In an ordered dataset, a user may want to view only orders in a particular region, or order over a certain amount, or maybe the orders that closed in the last 30 days, the easiest and most efficient ways to manage this is using the parameter for that dataset to filter value based on user input.
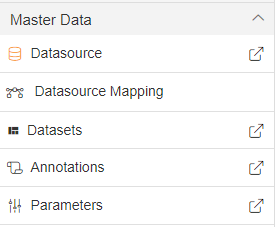
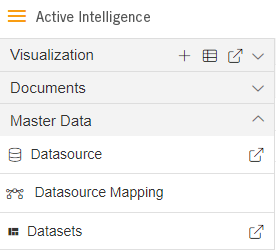
Parameters section is located under Master Data from the main menu bar (Only users with Parameters privilege have access to this section)
Parameters tab can be accessed by clicking on Annotations
or by clicking on ![]() next to the Parameters tab, which will open the
Parameters in a new tab.
next to the Parameters tab, which will open the
Parameters in a new tab.
Parameters provides the user with the following functionality:-
How to use Dataset Parameter in AIV.
1. Click on hamburger icon.
2. Click on Master Data Tab.
3. In Master Data Tab click on Parameters.
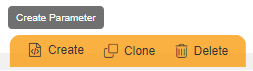
4. You will find Parameter button in bottom of menu, Click on Create Parameter, As shown in Figure Below:
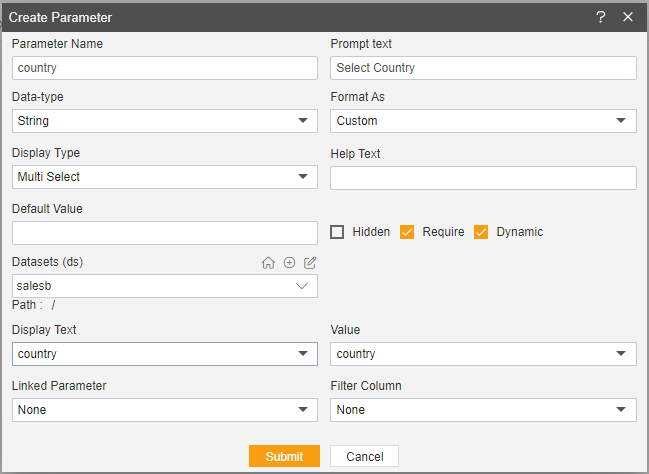
5. Enter Following details in Create Parameter.
Parameter Name: Country
Prompt Text: Select Country
Display Type: Multi Select
Dataset: salesb.ds
Display Text: country
In Checkbox Select Require and Dynamic.
6. Fill above details, As shown in figure Below.
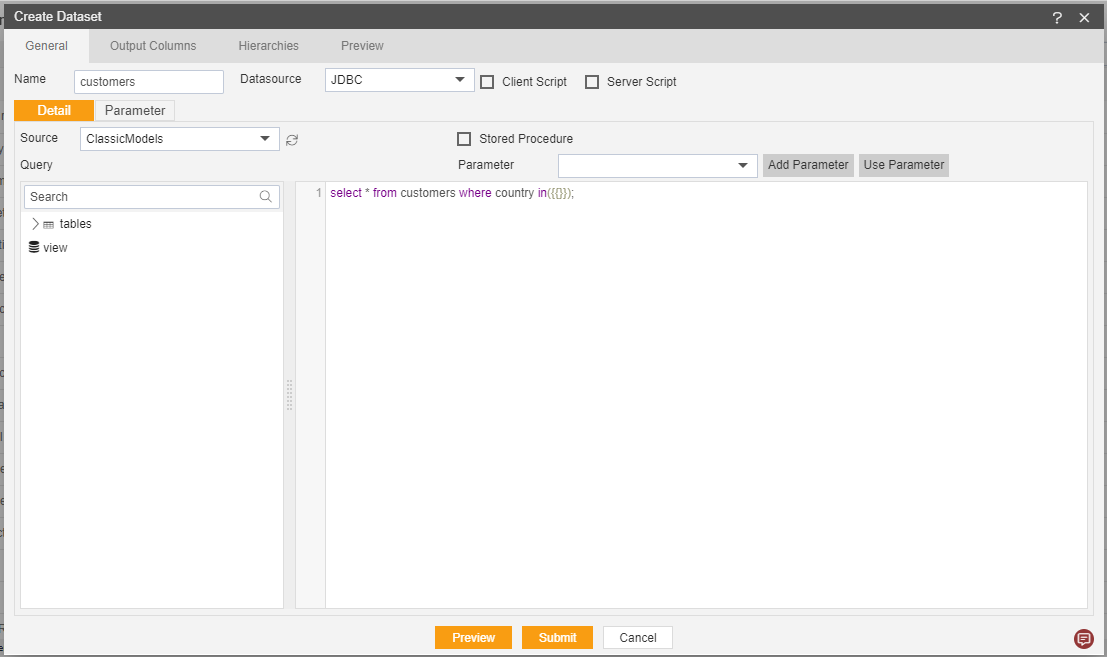
7. Now Click on Dataset Tab, As shown in figure Below:
8. Click on Create Dataset.
9. Enter Following details in Create Dataset.
Name: customer
Query: select * from customers where country in ({{}});
10. Fill above details, As shown in figure below:
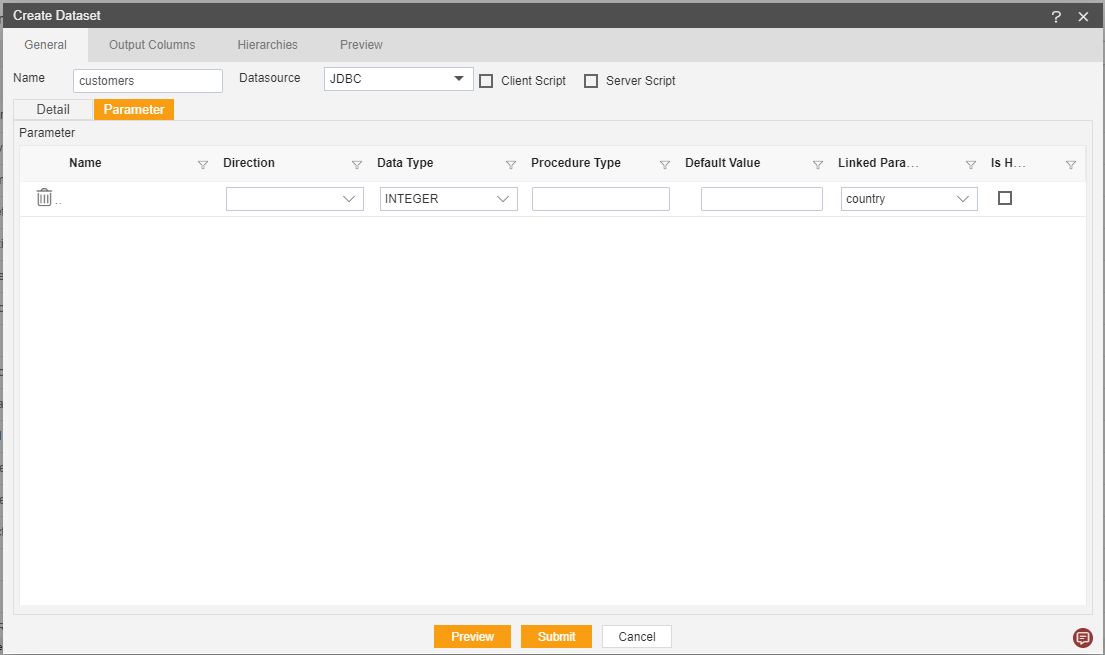
11. Click on parameter.
12. Enter following details, As shown in figure below:
Linked Parameter: country
13. Fill above details, As shown in figure below:
14. Click on Preview and Submit.
15. Click on hamburger icon.

16. Click on (+) icon, from visualization Tab.
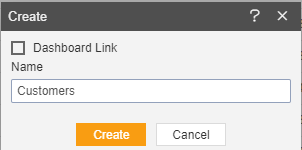
17. The Create Dashboard Dialog box will pop up on screen. Enter Dashboard Name as shown in Figure.
18. Click on Create After entering Dashboard Name in dialog box.
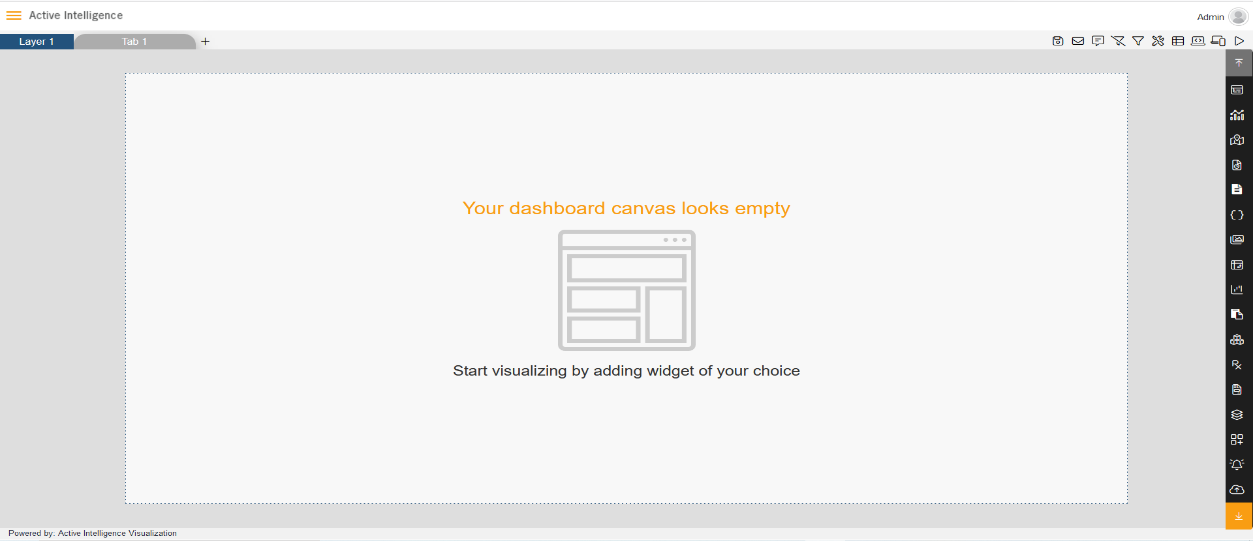
19. You will see an Empty Dashboard, As shown in figure below:
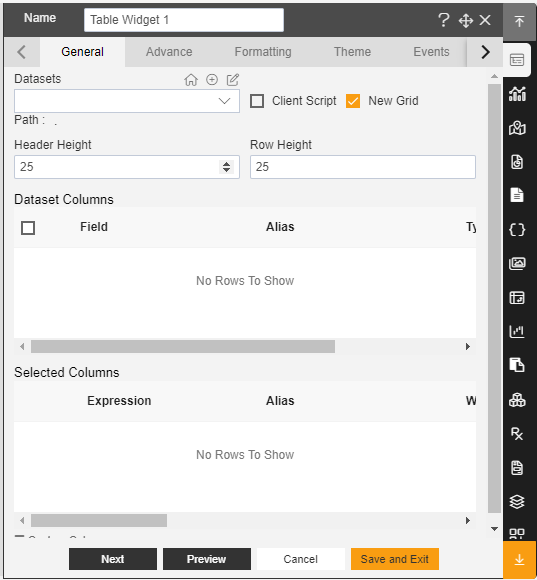
20. From Right Vertical Menu Select the Table Widget icon.
21. The Edit menu box appears as you click on Table Widget icon. And a widget gets added in content place automatically in dashboard, As shown in Figure below:
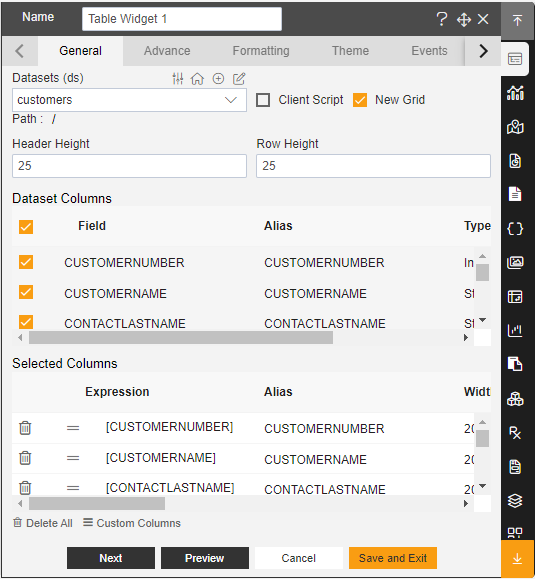
22. Enter Following details in General Property:
Dataset: customers.ds
Select Country: USA, Germany
In Dataset Column Select All the Field.
23. Fill above details in edit box, As Shown in figure below;
24. Click on Preview and Save and Exit.
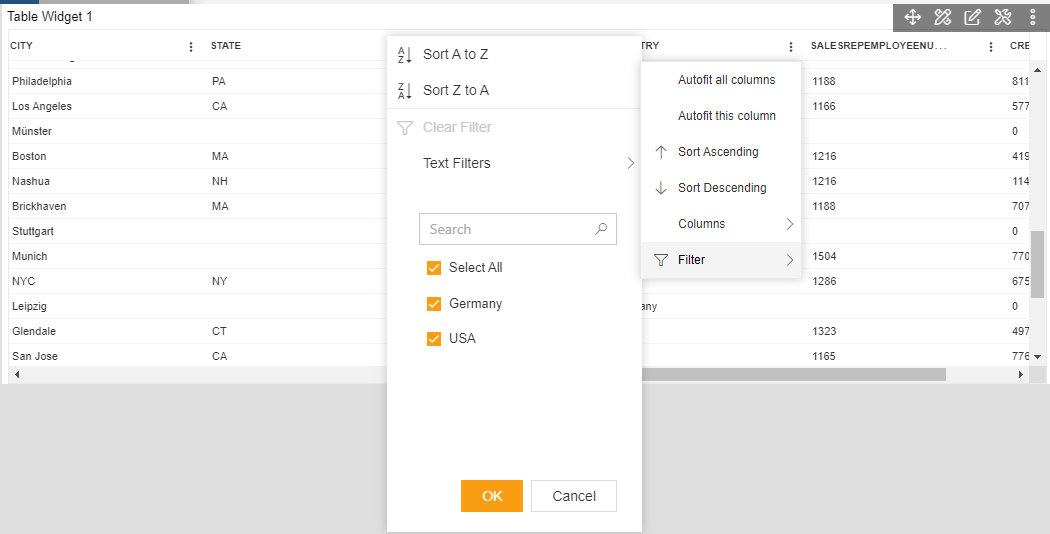
25. Click on Country Ellipse and the click on filter.
26. It will show selected Country, As shown in figure below: