Steps to add the Olap Widget in the AIV Dashboard
To create new Olap Widget in the dashboard, follow the steps below:-
-
Click on
 the Component icon from the top right corner menu, a list of the available component will open up as follows:
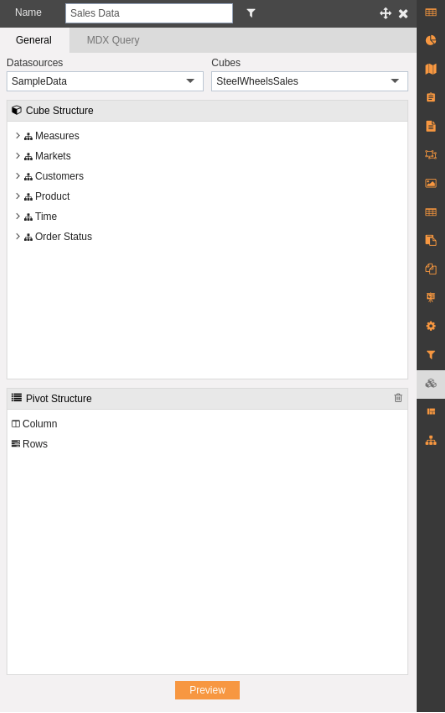
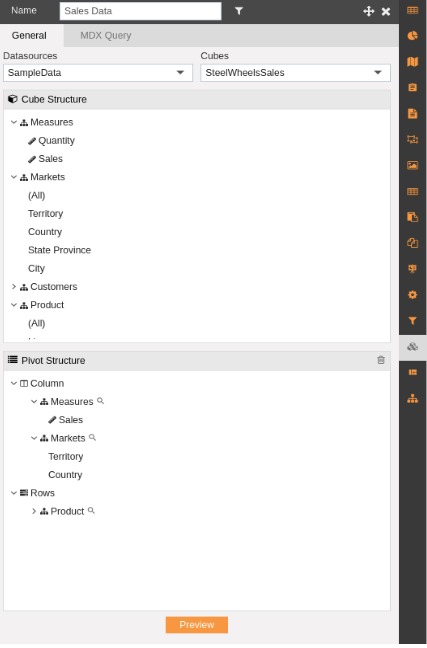
- Click on Component icon from the list of the component into the dashboard, a configuration box would open as follows:
- Select the Datasource as SampleData and Cubes as SteelWheelSales as shown in the figure above.
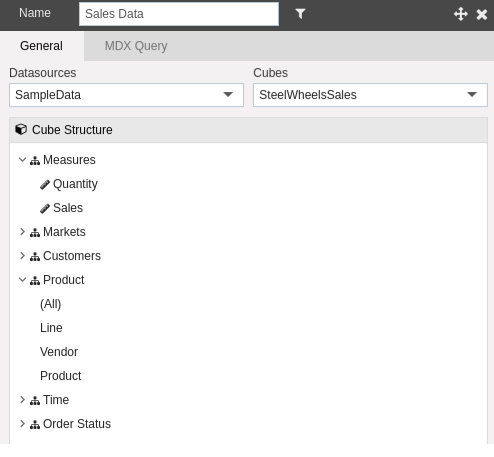
- Expand Measures and Product to see their contents as follows:-
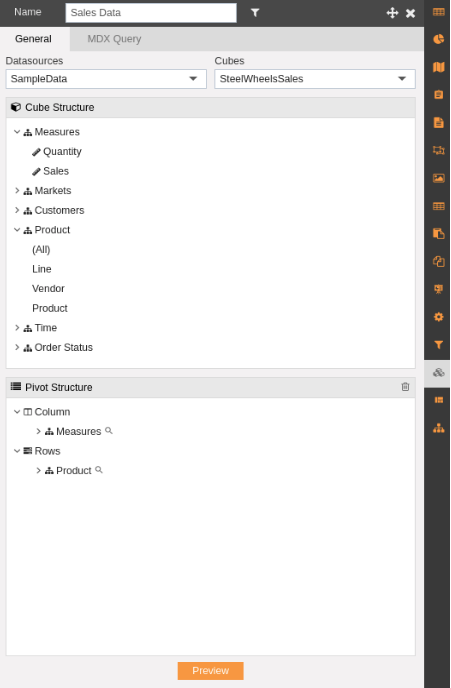
- Select and drop-down Sales From Measures in the Column and Line from Products in the Rows of the Olap widget as shown below:-
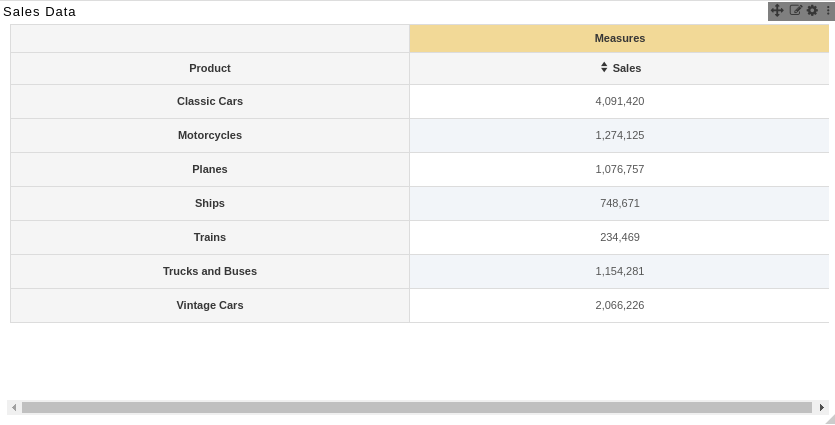
- Now your olap widget will be displayed as follows:-
- In order to save your changes, click on the Save button
 located at the topmost right corner of the dashboard.
 - You can also add multiple rows and columns to your widget.
- For instance,expand Markets and add Territory from Markets to Columns as shown below:-
- Now your olap widget will be displayed as shown in the figure below:-

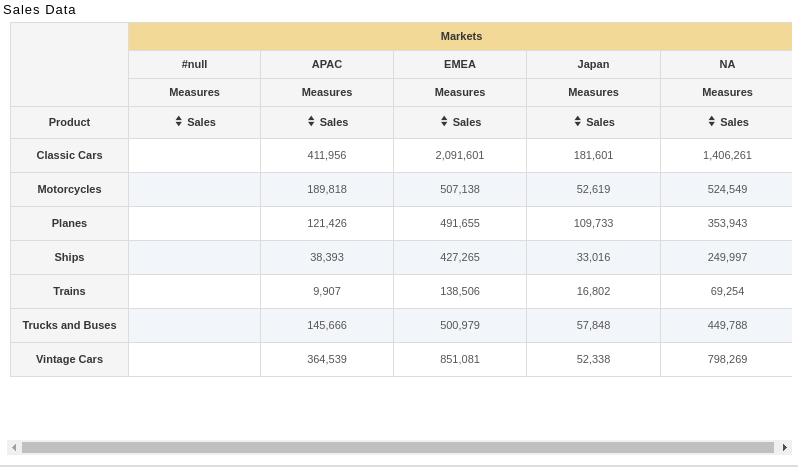
In this manner, you can add multiple rows and columns to your olap widget. You can also implement filter and drill down functionalities in your olap widget which will be discussed in the upcoming session.