Add Custom Columns in Table

1. Click on hamburger icon.

2. The Edit menu box appears as you click on Table Widget icon. And a widget gets added in content place automatically in dashboard.
3. In General Property click on Custom Column, As shown in figure.
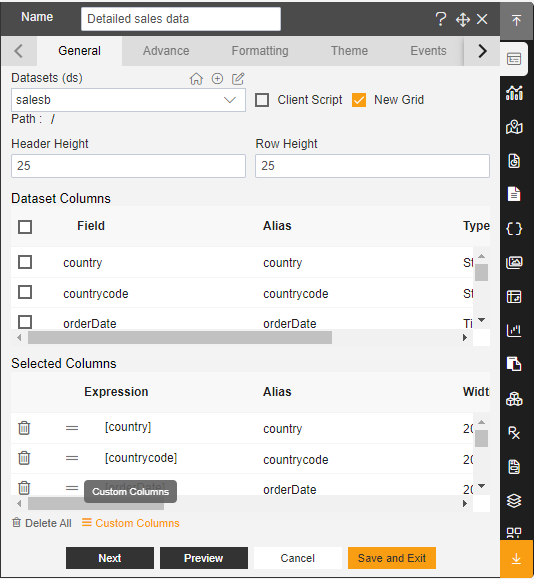
4. It will Open the Custom Column Dialog Box, As Shown in figure below,
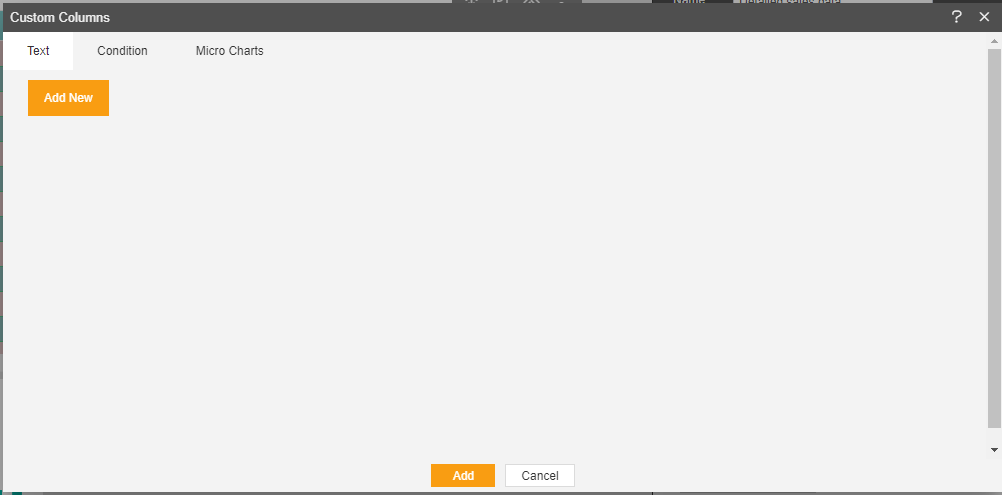
5. In the Text tab click on Add New button to add new Column.
6. Enter Following details in Add new Column:
Nam e: Detailed sales data
Display Name: Detailed sales data
All Column: quantityOrdered
Condition: Greater than
Value: 20
Condition: None

7. In Expression click on code editor icon and add following details in Text: Select Type: Percentage Bar Enter custom column code layout:
8. Fill above details in edit box, As Shown in Figure Below;
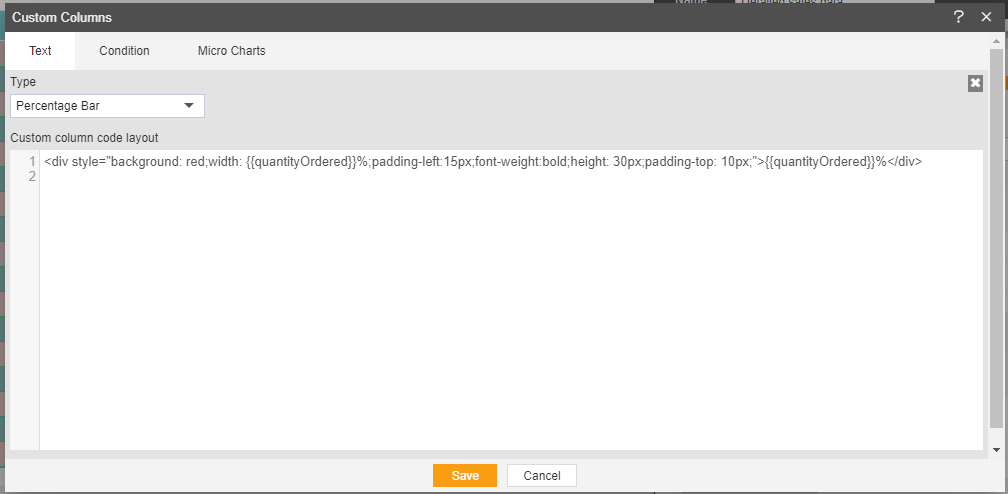
9. Click on Save and add.
Now click on = sign to drag and drop detailed sales data to up, As shown in figure below;
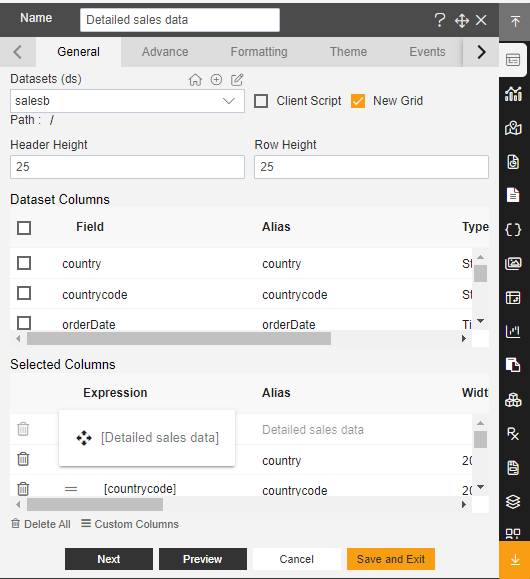
10. Click on Preview and Save and Exit.
11. Now, match your Custom Column Table Widget with the below example, it should look like the figure below:
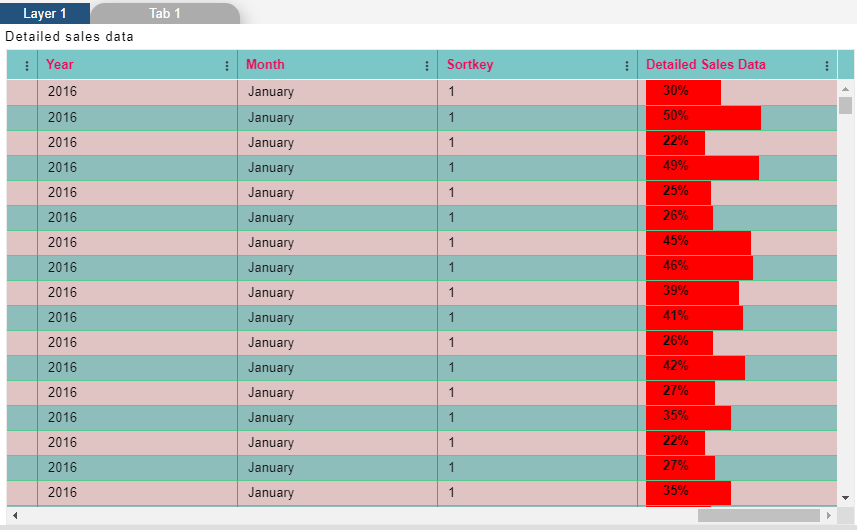
12. In quantityOrdered Column click on Vertical Ellipsis and in that click on Filter.
13. In Filter select the 20 to 30 numbers and click on Ok button, As shown in figure below:

14. Now, match your Custom Column Table Widget with the below example, it should look like the figure below:
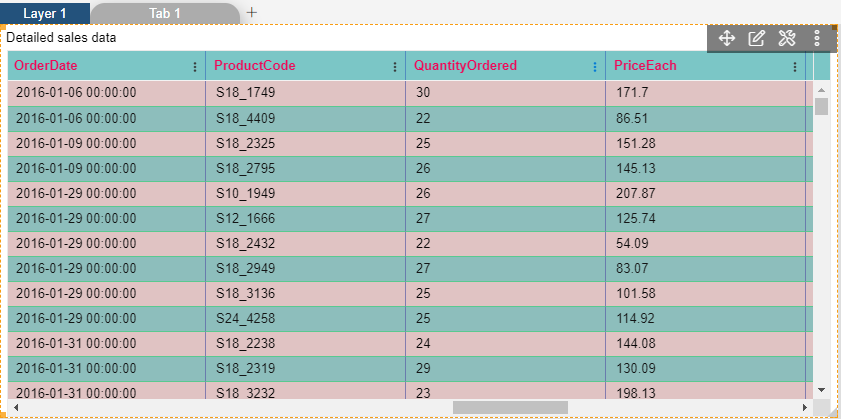
Custom Column (Condition)
1. Click on Condition tab, to add condition column in table widget.
1.png)
2. Select Column name to add condition into it, select country as shown in figure below:
2.png)
3. As you select the country, the condition controls appear in dialog box. as shown in figure below:
3.png)
4. user can select condition from the dropdown, select the Equal to from the condition list.
4.png)
5. Add Value on condition, Example: USA. user can add Cell Style by clicking on Open code layout button, as shown in figure.
5.png)
6. The cell style added as code. for example, it has code in bottom of the editor. as shown in figure:
6.png)
7. Copy the code and add in text area, as shown in figure:
7.png)
8. Click on save button, and complete the condition column by clicking on add button.
8.png)
9. The example of the above steps is as shown in figure, here the USA field contains Fonts in bold and Background in orange colour.
9.png)
