Steps to create a new filter in AIV application
To create new Filter in the dashboard, follow the steps below:-
-
Click on
 the Component icon from the top right corner menu, a list of the available component will open up as follows:
- In order to understand working of a filter, first add a table widget to the dashboard on which we will apply our filter.
-
Click on
 Component from the list of the component into the dashboard, a configuration box would open as follows:
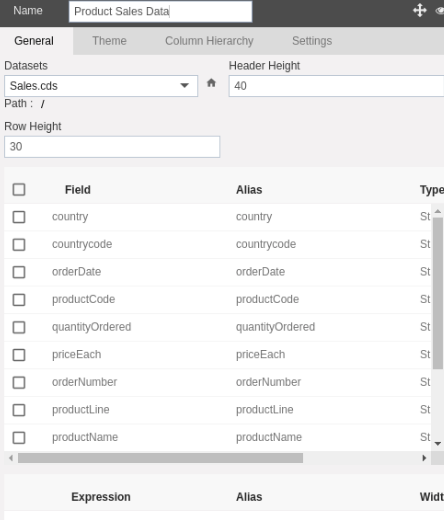
- Here we have created a table named Product Sales Data. Select the dataset as Sales.cds and header height and row height as 40 and 30 respectively. (In order to understand the Table widget, visit the Table Widget section of our training manuals).
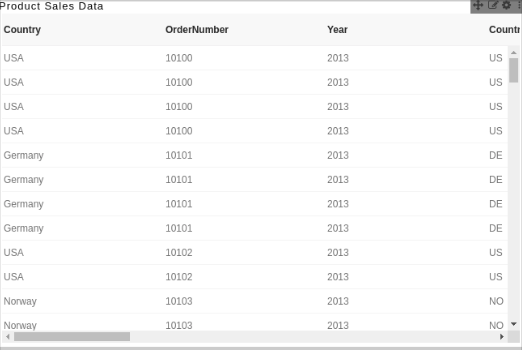
- Currently the table widget will be displayed as follows:-
- Now we will create a Multi-Select filter to display the data for only those countries which are selected by the user from the drop-down menu.
- In order to do so, Click on
 Component from the list of component into the dashboard, a configuration box would open as follows:
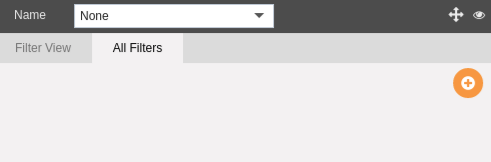
- Go to All Filters tab as shown in the above figure and Click on
 to add new filter. This tab displays all the existing filters and enables the user to add new filters.
 - This will open the following dialog box:-
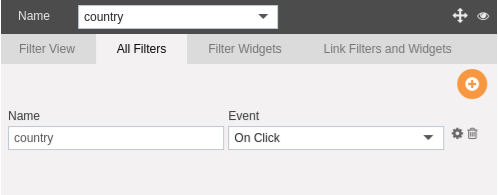
- Here we have created a filter named country to filter the data of product sales based on the country name.
- Click on
 button in order to save a filter which will appear on your screen under the All Filters tab as follows:-
- As you can see our filter is added to the filter list.


In this manner, a user can create a new filter in the AIV application. In the next section, we will learn about how to configure filters.